This article shows how to change the date associated with a picture in Google Photos.Update- August 2015
There is now a feature to change the date of individual pictures or videos in Google Photos.
To use it:
- Navigate to the picture / video you want to set a new date for
- Click the "information" icon (small "i" currently near the top-right of the photo viewer screen)
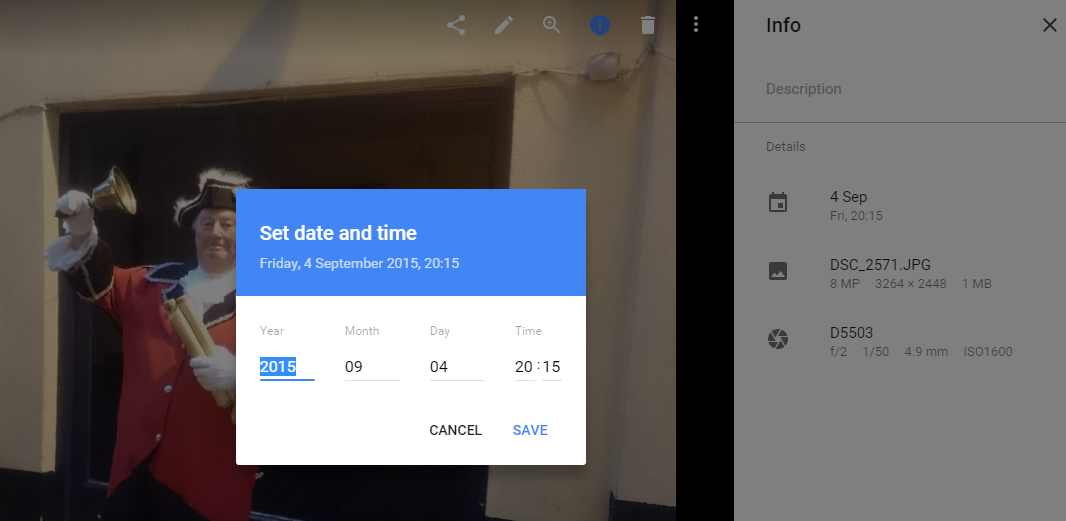
- In the right hand panel, hover your mouse over the item in Details which has a picture of a calendar beside it.
- Click on the pen icon which appears while you are hovering
- Enter the new year, month, date and/or time (in 24-hour clock) for your photo or video.
- Click Save.
Job Done! You have now changed the date stored with your image or video.
There are still some photos that you cannot see through Google Photos (eg ones uploaded directly through Blogger with some settings, or shared in Google Hangouts). For these you need to use the date-editing features in Picasa-web-albums, which are described below.
Original Article
When you open
Google Photos by default you see the All Photos tab, which shows every picture in your Google account, sorted by the date on which the picture was taken, with the newest at the top.
This works well for recent photos that were taken with smartphones, and so most likely have the correct date-time attached to them.
But for older photos, that were added to Google in bulk when you finally uploaded them from your camera's memory card, the attached date may not be right.
It's even possible to have some photos with no date attached to them - and it looks like Google Photos, very confusingly, shows a nominal date figure in 2075 for these.
One way to avoid the confusion caused by these wrong dates is just to use the Collections tab to view your pictures, and to put photos with the wrong dates into appropriate collections (aka albums) yourself.
But if you want to keep using the All Photos view, you may want to alter the date for some of your individual photographs, so they show up in the right order.
How to change the date for a picture in Google Photos
Unfortunately Google Photos doesn't have a feature for doign this (yet). But you can adjust the date assocaited with with a picture by
using Picasa Web Albums - provided you have at least some aspects of a Google+ profile (eg a Google+ Page) associated with your Google account.
Follow these steps:
Go to Picasa Web Albums, using the no-re-direct link:
https://picasaweb.google.com/lh/myphotos?noredirect=1Find the album that the photo(s) you want to change are in
Click on the album - this will open the album, and display each picture in it.
Click on the photo you whose date you want to change.
From the menu bar, choose
Actions > Edit on Google+. This opens the photo in Google+'s photo viewer mode.
Click on the drop-down beside Photo Details in the right hand information bar.
Use the options in the pop-up window to choose the correct date, time and even time-zone.
Click Save
Job Done! If you now look at the picture in Google Photos, you will see if with your newly changed date associated with it.
What if you don't have Google+
If Edit in Google+ is greyed out and cannot be selected, then this means you do not have Google+ associated with your Google account.
The only work-around for this currently is to share the photo (from Google Photos) with another Google account that does have Google+, and use that to change the date.
Where to get more information
Introducing Google Photos - another tool for managing your photo collection.Understanding Picasa desktop vs Picasa-web-albumsAll about Google accounts